Saturday, April 21, 2012

CLASS of '87


I think the designers at Kaiser designed this range of papers just for me! Could you choose better colours for my boys' uniforms? In this Class of '87 section all layouts use Kaiser products, and I will just note any extras underneath relevant layouts.
Bracket punch by EK success, my own sewing machine.

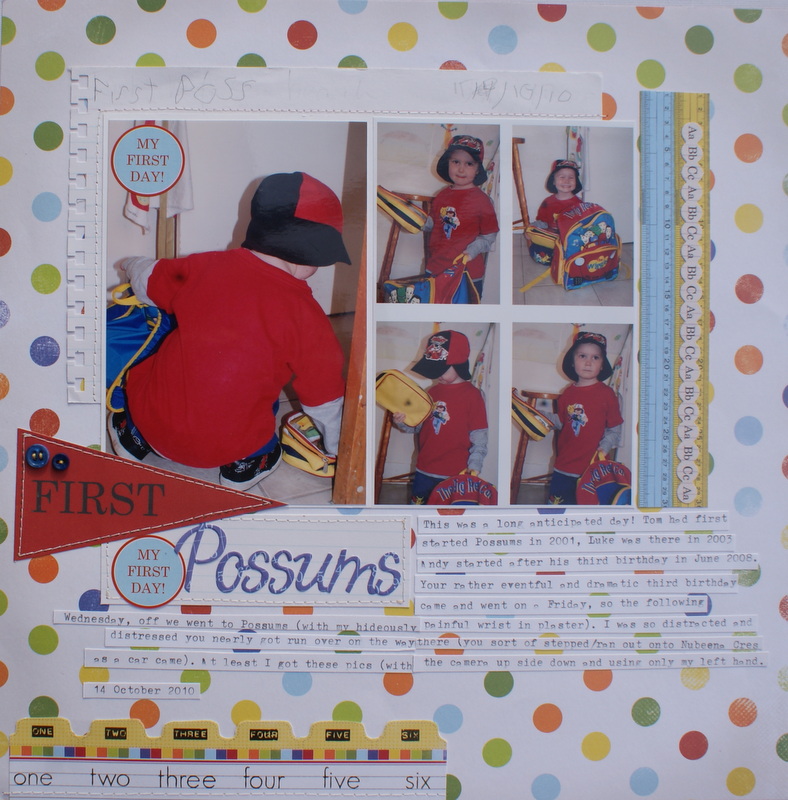

Title cut on my Cuttlebug. I also included the filing card (this is how I store all my printed pics). I had written the details on it in my sad looking left handed writing when my arm was in plaster- all part of the story, my arm had been broken 3 days when the pics were taken.


Oh my beautiful boy :-)


Background yellow paper is Kaiser, other products by American Crafts


Alphas by Making Memories


Metal badges by Making Memories, Rubon letters by Chatterbox


Alphas by American Crafts


Weirdly this is one of my favorite layouts! That's because I love the memory that it records :-)  Letters by American Crafts.


Tape (at bottom of layout)- Pink Paislee


Alphas by Making Memories


Alphas by American Crafts


I bought at least 10 of these double sided folder style pages. I just loved them, I have about 3 left in my stash now which I am saving for something really special.


I had gotten really confused (sigh) and somehow prepared 2 layouts for the 2009 Triathlon, so this was a spare! Therefore I MADE poor Luke enter again in 2010 or I would have had a surplus Layout!

BUBBLE GUM HILLS


Most papers by Kaiser, Stripe by American Crafts (used due to depleting stash of Blue Dot paper used below LOL), Alphas by American Crafts, Easter brads by Making Memories


Products by Kaiser, I coloured in the wooden Easter Egg with my watercolour pencils, then blurred slightly (very carefully) with a tiny paintbrush and drip of water. Mini alphas by Carolees.


Products as above.
Shameless! If it ain't broke, don't fix it (eg if the page works repeat it, especially if I still have oodles of products!)

Products by Kaiser, Coloured wooden egg, brad and Ribbon by making Memories, journalling typed on my old typewriter.

TINY WOODS


All products by Kaiser plus American Crafts alphas, Beutron buttons, letter rubons by Chatterbox


Shamelessly redoing a layout that works for the same event, similar pics, different son :-)
Alphas by October Afternoon, All other products by Kaiser

All products by Kaiser, Mini-alphas by My Little Shoebox, Alphas by American Crafts


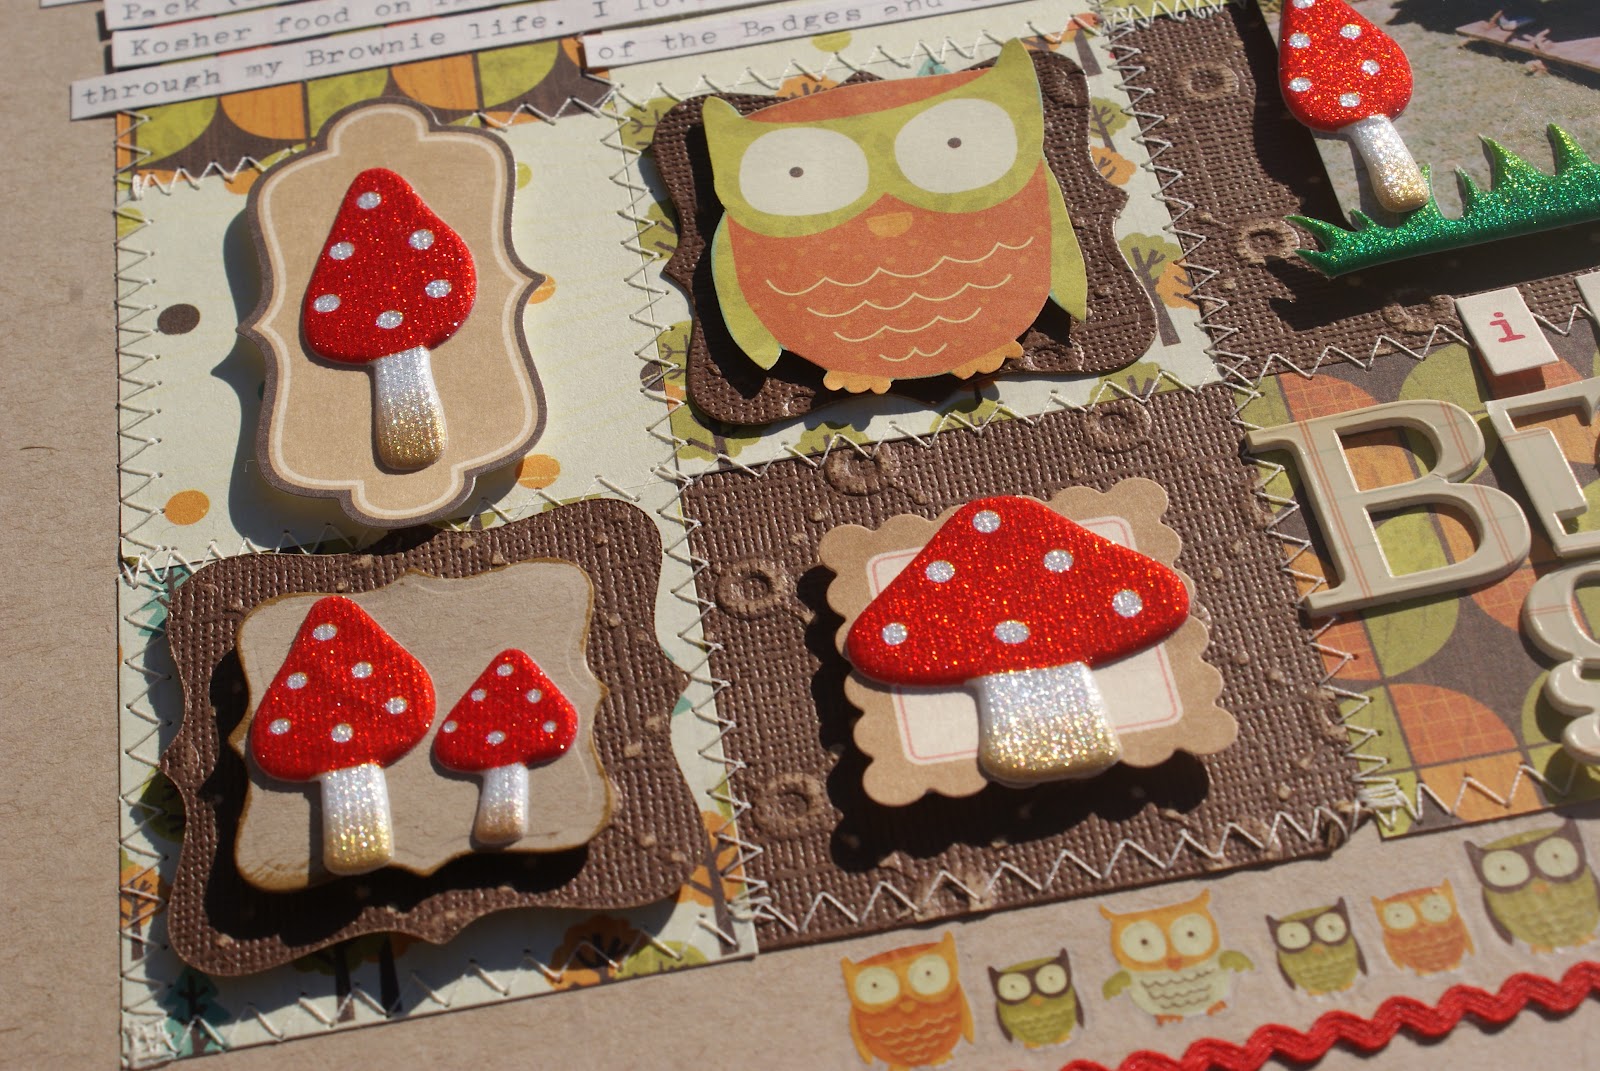
Gorgeous Kaiser Tiny Woods papers and rubons, Cardstock by Coredinations, Stickers by October Afternoon, Large Alphas by making Memories, Toadstools by Flourish with a Bling

LIL' PRIMROSE


Kaisercraft Lil' Primrose range, plus "Baby" sticker by making Memories, "shower" by American Crafts, buttons by Beutron, journalling typed on my old typewriter.
The flowers at the top right hand corner were spritzed with water and spent a week or so in my Flower Press, just to make them a bit more Album friendly (eg. flatter)
Oh BTW, Sherrette had a beautiful little baby GIRL, Amelia Rose, hence the choice of papers!!!!

Sunday, April 1, 2012

FUN with a BLING!!!

Yep it's about time I got back on the bike and had a try at getting onto a DT- this time I have Flourish with a Bling in my sights! I'd never heard of them (to be honest) until I got the email from a fellow scrapper- so then I ordered some goodies from the mainland, had a bit of a wait then my cute parcel arrived- toadstools, pink pearls, a blue boyish swirl, beach houses and a sun and cloud set. Wait till you see how much fun I had!
Flourish With a Bling Taylah's Toadstools; Kaiser papers and rubons; Coredination cardstock; October Afternoon label stickers and mini alphas; Lettering by Making Memories; Spellbinder die.


Flourish With a Bling Rose Pink Pearls, Grace Flourish and Jack, Black; Swiss dot bazill; Bazill Two Scoops Raspberry Parfait cardstock; Papers by Kaiser and Making Memories; Prima Velvet flowers; Beutron Buttons; Black velvet and Pink lace from my stash; Lettering by American Crafts. Mini stickers- Chatterbox, October Afternoon, Glitz, EK and Making Memories.


Flourish with a Bling Nicky's Beach Huts; Papers by Echo Park, Lettering by American Crafts, mini alphas by EK. Journalling on my typewriter.


Swiss Dot Bazill purple cardstock; Teresa Collins diecut paper; Purple frame by Making Memories; Bling by Kaiser; Ribbon from my stash; small black square, hung as diamond by 7 Gypsies; Font- English Rose, cut with Cuttlebug.


Flourish with a Bling Up in the Sky; Dress it up Smiley Buttons; Lettering by American Crafts; Cosmo Cricket Paper and sticker; Bo bunny brad, Ribbon from my stash, PSX mini-alpha stamps.


Flourish with a Bling Teal Luke Flourish; Paper by Basic Grey, the Obscure range; Bazill Bling Cardstock; Ribbon Making Memories; Smiley button Dress it up; Lettering American Crafts; Mini alphas by making Memories; "surf" and "swim" by Kaiser; Bling by My Minds Eye; Gutterman metalic thread.


Thursday, March 29, 2012

hello

Does this work??!!!

Tuesday, January 3, 2012

STEP BY STEP LAYOUT

Instructions follow to make this sweet little page :-)
Papers: MM, and Sass Lass, Heavy paper for journalling:Canson, Golden Book page, AC alphas, Brad by BG, DYMO label maker, Frame by scenic route, Ink by Versa Ink, Ribbon and teapot button- my stash.


Step 1- Select photos, select feature product (page of Golden Book) and then select supporting products.
Step 2- Ink the frame with “Baby Blue” ink- Versa Mark and then put it out of the way to dry. After a couple of minutes, ink over the Baby Blue with “Cyan”, but let some of the Baby Blue show through.
Step 3- Position papers, but don’t adhere just yet.
Step 4- Hmmm, that's gonna be a bit much... needs dilution
Phew... that's better!
Step 5- Machine sew around edge of two blue papers  and then distress edges with scissors. Just scrape the blade along the edge of the paper.
Step 6- Tie ribbon to frame, then adhere papers, top photo and frame with tape and adhere bottom photo with foam tape.
Step 7- Adhere pink gingham over sentence from Golden Book  that doesn’t quite work, then blue ric rac over the top. Position title. Adhere ribbon and brad in bottom Right corner. Flip layout and flatten split pin with hammer.
Step 8- Type up journaling. Note: adhering the individual words is time consuming, so if speed is preferred, why not adhere strips or even a journaling block.
Step 9- Adhere sizzix adhesive to the back, cut journaling into strips, ink edges, then snip each individual word and ink the little ends.

  Step 10- Space out words on the layout and remove a few key words and replace with Dymo words. Try to space the Dymo words apart in a pleasing fashion.
So there you have it, one cute little layout using the most divine products and the sweetest photos!! The journalling was a fiddle, but isn't it so worth it in the end? Maybe a shorter sentence next time LOL